Screenshot Smarter, with macOS
While most macOS users know how to take and use screenshots, I would argue there are 2 ways to improve the experience.
Dump your screenshots in a dedicated folder
By default, all screenshots are saved on the Desktop with a name like
Screen Shot 2024-11-19 at 13.10.06.png
But the Desktop is a terrible place to dump stuff. At this rate, it’s just going to become a mess. I like to put all my screenshots in a folder on the Desktop:
mkdir ~/Desktop/screenshots
defaults write com.apple.screencapture location ~/Desktop/screenshots
Every new screenshot is going to go there. Think of it as the Downloads folder for screenshots.
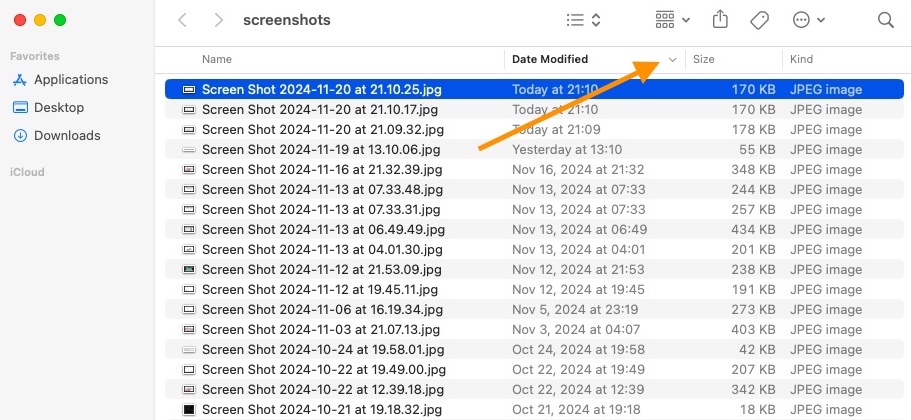
What makes this even better is if you set the folder’s view to sort by Date Modified.
The last screenshot you took is on top – which is the screenshot you are probably looking for.
Use JPG to make screenshots smaller
Run this in a terminal:
defaults write com.apple.screencapture type jpg
This isn’t strictly necessary, but it ends up taking less space on your disk, and makes every transfer a bit faster.
I used to optimize and compress my PNGs, but now I don’t bother.
It’s about workflow
Now that it’s easy and cheap to take screenshots, start to take a LOT of screenshots!
I use this workflow on my personal and work computer. I usually have enough screenshots to be able to review what I was working on and when.
I use them to “bookmark” websites that I might want to revisit.
I use them to capture confirmation numbers and various things that I used to copy-paste manually for my records.
More importantly, I use them to explain what I see: an image is worth a thousand words (at least). It’s a way to “share your screen” with colleagues without starting a call.
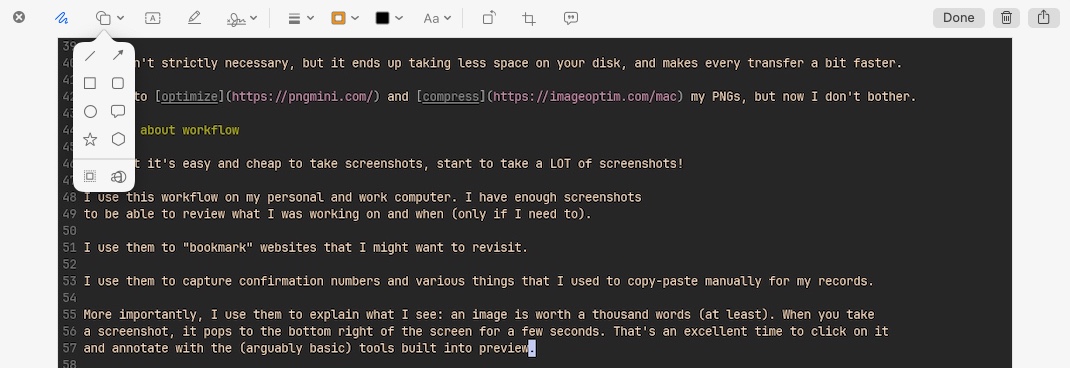
When you take a screenshot, it pops to the bottom right of the screen for a few seconds. That’s an excellent time to click on it and annotate with the (arguably basic) tools built into preview.
A few more tips
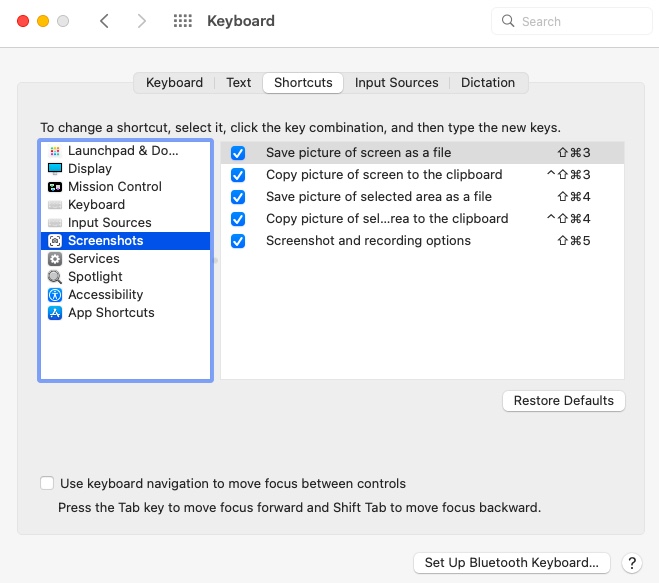
There are more default keyboard shortcuts for screenshots
The “Screenshot and recording options” is a more recent addition with better all-in-one experience for more complex screenshots
- set your boundary box manually, and remember it for multiple shots
- set a timer (and capture the mouse and its effect, e.g. a hover on a website)
- and more, including how to set the screenshot destination


